Shopping Cart
Canon R5 Mark II Pre-Capture: Guide, Settings and Limits
Canon EOS R5 Mark II pre-capture retains up to 15 frames before full shutter release. This verified guide covers time windows, autofocus, buffer, battery and the differences from Sony and Nikon.
Last factual review: 24 July 2026 — Checked against official Canon, Sony and Nikon documentation and the cited field examples.
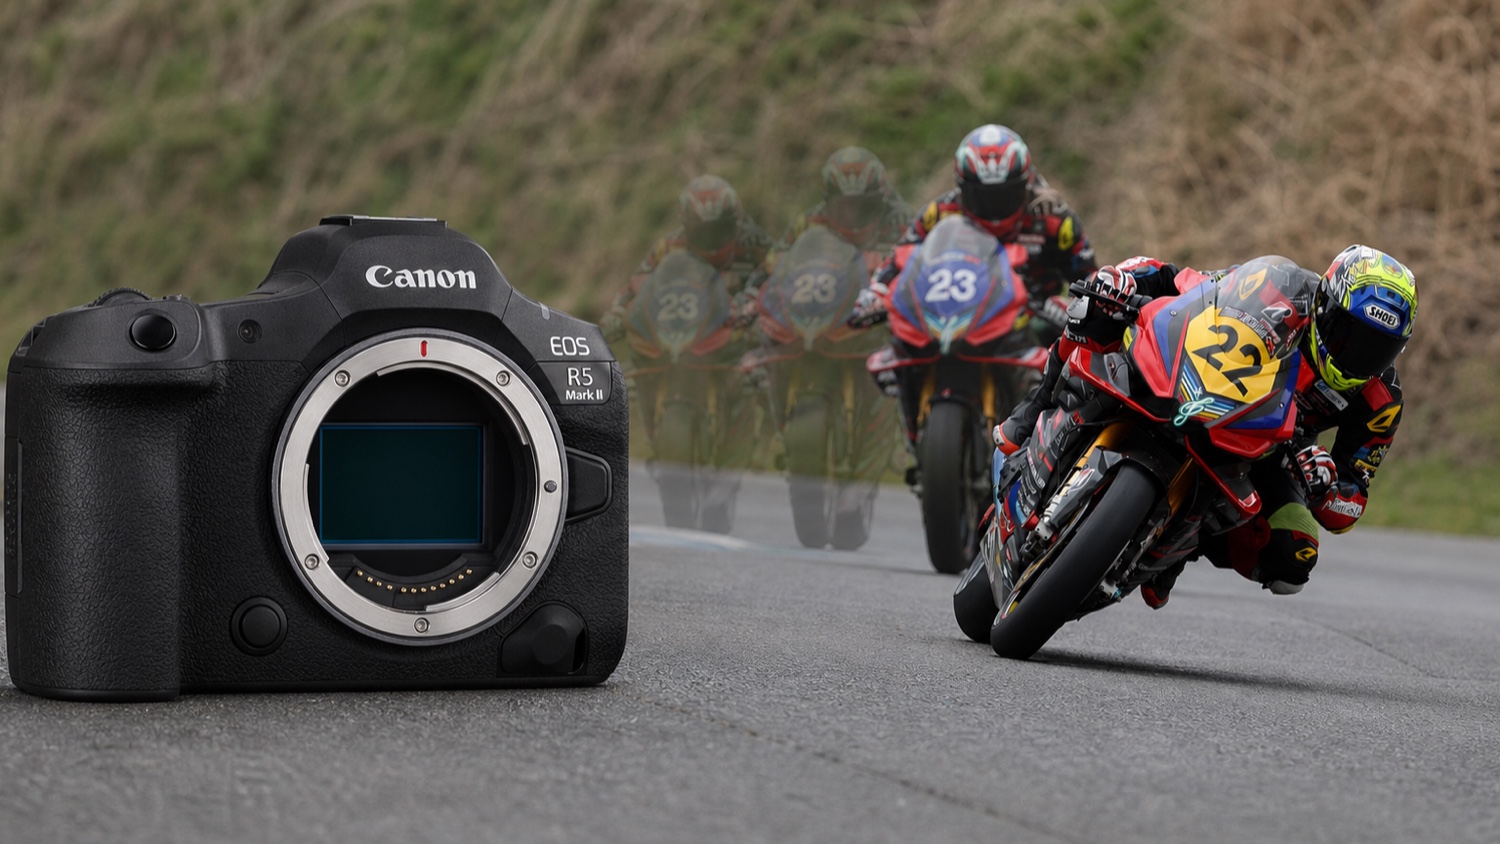
A bird launches, a goalkeeper dives, a gesture lasts a fraction of a second: the Canon EOS R5 Mark II's pre-capture is designed to recover frames recorded just before the shutter is fully pressed. It can improve the chance of retaining the start of the action, but cannot by itself guarantee a sharp or perfectly framed image.
This guide explains how Pre-continuous shooting actually works, how to configure it, where its limits lie and how it differs from Sony and Nikon systems. The windows below assume the maximum 15 pre-captured frames are selected; choosing fewer frames shortens the window proportionally.
WHAT IS PRE-CAPTURE AND HOW DOES IT WORK?
Canon calls the feature Pre-continuous shooting. With the electronic shutter and a compatible continuous drive mode selected, the camera starts feeding a circular memory buffer while the shutter is held at half-press. When the shutter is pressed fully, it writes the configured number of earlier frames — up to 15 — to the card and then continues with the normal burst.
The window depends on frame count and actual frame rate
The calculation is simple: pre-captured frames ÷ actual frames per second. The table uses 15 configured frames. Real shooting speed may fall depending on the lens, autofocus, exposure, battery, temperature and the other conditions listed by Canon.
| Frame rate | Frames | Theoretical window |
|---|---|---|
| 30 fps | 15 | 0.5 sec |
| 20 fps | 15 | 0.75 sec |
| 15 fps | 15 | 1 sec |
| 10 fps | 15 | 1.5 sec |
| 5 fps | 15 | 3 sec |
A high rate divides very fast movement more finely; a lower rate extends the time window when the start is difficult to predict. The best setting therefore depends on the subject rather than always being the maximum value.
Individual files on the R5 Mark II
Pre-captured R5 Mark II frames are saved as individual files in the selected format: RAW, C-RAW, JPEG or HEIF. That is the most visible workflow difference from RAW Burst on the EOS R7, R6 Mark II and R8, which groups the sequence in a roll file that must be extracted.
TUTORIAL: ENABLE PRE-CAPTURE STEP BY STEP
1. Select the electronic shutter
Pre-continuous shooting requires the electronic shutter. It is unavailable with the mechanical shutter or electronic first-curtain shutter.
2. Select continuous drive
Choose High-speed continuous+, High-speed continuous or Low-speed continuous. Canon's custom continuous-speed ranges are H+ from 30 to 3 fps, H from 20 to 2 fps and L from 15 to 1 fps, so the feature is not limited to five fixed rates.
3. Set the number of pre-captured frames
In Pre-cont. shooting, choose the number of frames to retain, up to 15, and enable the feature. A dedicated icon appears on the screen and in the viewfinder; Canon's manual does not describe a live counter that increments the number of buffered frames.
4. Configure Servo AF for the subject
Servo AF and subject detection remain available during pre-capture. Canon cautions that sudden subject-distance changes can produce out-of-focus frames and that actual shooting speed depends on AF, the lens and conditions. Pre-capture recovers time; it does not remove the normal limits of autofocus tracking.
5. Prepare quick access
The function can be assigned to several controls under Control customization > Customize buttons for shooting, depending on the selected control. A C1, C2 or C3 mode remains useful for recalling the electronic shutter, frame rate, AF and pre-capture together.

WHEN SHOULD YOU USE PRE-CAPTURE?
Unpredictable birds and wildlife
For a launch, strike or leap, holding half-press when the behaviour becomes imminent may recover the very start of the movement. With 15 frames, the theoretical window is 1 second at 15 fps or 0.75 second at 20 fps.
Sports and action
At 30 fps, a theoretical 0.5-second window improves the chance of recording contact or the peak of a movement. Canon Action Priority currently recognises four sports: football/soccer, basketball, volleyball and American football. Its effectiveness, like pre-capture itself, still depends on framing, exposure and AF tracking.
Family, reportage and brief natural events
A smile, first movement, passing silhouette or lightning bolt may occur before the photographer reacts. Pre-capture can retain earlier frames, but cannot guarantee the event falls inside the window or that every frame is usable.
WHEN SHOULD YOU SWITCH IT OFF?
Static subjects: landscapes, architecture, studio work and posed portraits usually gain nothing, while prolonged half-press uses power and each shutter press adds files.
Slow shutter speeds: Canon states that the feature is unavailable below 1/2 second.
Limited power or storage: enable it only when action becomes likely and reduce frame count or rate if culling becomes too heavy.
File volume: one cumulative minute at 30 fps theoretically represents 1,800 frames. This does not mean an uninterrupted one-minute RAW burst is possible: Canon lists approximately 93 RAW or 170 C-RAW frames under its test conditions, and real results vary.
BUFFER, CARDS AND PERFORMANCE
Under its test conditions, Canon lists approximately 93 RAW frames or 170 C-RAW frames at 30 fps with a CFexpress card. Real depth depends on file type, card, battery, temperature, lens and settings. The documentation does not support claiming that pre-capture never affects remaining capacity or that buffer saturation becomes negligible.
A fast CFexpress Type B card helps reduce writing time during long RAW bursts. SD UHS-II remains compatible; Canon measures approximately 86 RAW frames on SD versus 93 on CFexpress in its procedure, and 170 C-RAW frames on either. Video-performance certifications should not be presented as still-photo requirements.
BATTERY IMPACT
Canon publishes no direct battery-life comparison with and without pre-capture. Its current specification lists approximately 340 viewfinder shots in power-saving mode and 250 in smooth mode under Canon/CIPA conditions, without isolating pre-capture. Actual impact depends on cumulative half-press time, AF, temperature and burst use.
For a long session, carry at least one spare battery and adjust from your own results. Canon states that a BG-R20 with two LP-E6P batteries approximately doubles the shot count in its official table; that is not a pre-capture-specific measurement.

COMPARISON: CANON R5 MARK II, SONY A9 III, SONY A1 II AND NIKON Z8
Canon EOS R5 Mark II
Up to 15 configured frames as individual full-resolution 14-bit RAW, C-RAW, JPEG or HEIF files. With 15 frames, the theoretical window runs from 0.5 second at 30 fps to 3 seconds at 5 fps. Servo AF and detection remain available subject to normal shooting conditions.
Sony A9 III
Pre-Capture can be set from 0.005 to 1 second and can operate at up to 120 fps at 24.6 MP. It prioritises very high temporal resolution; the rate and duration actually available depend on the drive mode and settings.
Sony A1 II
Pre-Capture can be set from 0.03 to 1 second and continuous shooting can reach 30 fps at 50.1 MP. Sony lists approximately 100 lossless-compressed RAW frames under its test conditions, compared with 240 standard compressed RAW or 84 uncompressed RAW frames depending on format.
Nikon Z8
Z8 Pre-Release Capture operates in High-Speed Frame Capture+ C15, C30, C60 and C120 modes and records JPEG files. C15 and C30 can use FX or DX, C60 is DX-only, and C120 records small JPEGs of about 11 MP. It can retain up to 1 second before full shutter release. The Z8 also shoots conventional RAW bursts at 20 fps, but that RAW burst does not use Pre-Release Capture.
Comparison table
| Criterion | Canon R5 Mark II | Sony A9 III | Sony A1 II | Nikon Z8 |
|---|---|---|---|---|
| Pre-capture resolution | 45 MP | 24.6 MP | 50.1 MP | 45.7 MP in C15/C30; about 11 MP in C120 |
| Maximum pre-captured RAW rate | 30 fps | 120 fps | 30 fps | Not available |
| Maximum window | 3 sec at 5 fps with 15 frames | 1 sec | 1 sec | 1 sec |
| Pre-captured formats | Individual RAW / C-RAW / JPEG / HEIF | Individual RAW / JPEG / HEIF | Individual RAW / JPEG / HEIF | Individual JPEG |
DOCUMENTED EXAMPLES AND USE SCENARIOS
The bear and salmon at Brooks Falls
Photographer Bryan Carnathan says his image of a bear catching a salmon was the fourteenth of the fifteen pre-captured frames; in the first normal burst frame, the fish was already in the bear's mouth. This demonstrates the value of recovering the preceding fraction of a second.
The little green heron and tadpole
In another documented example, Bryan Carnathan photographed a little green heron taking a tadpole. It is a separate field example, not a scientific measurement of hit rate.
Illustrative scenario: a child's first step
At 10 fps with 15 frames configured, the theoretical window is 1.5 seconds. If the shutter is pressed after movement starts, the pre-captured sequence may contain the opening phases; it does not guarantee sharpness or that the child stayed in frame.
STARTING SETTINGS BY SUBJECT
Birds and wildlife: electronic shutter, 15–20 fps, 15 frames, Servo AF with appropriate detection and a fast CFexpress Type B card. Adjust for subject speed and acceptable culling volume.
Fast sports: electronic shutter, up to 30 fps, 15 frames, Servo AF and Action Priority when shooting a supported sport. Check for flicker or banding under artificial light.
Family and reportage: 10–15 fps and 10–15 frames often provide a longer window with fewer files than the maximum rate.
Lightning and brief natural events: a high frame rate may improve the chance of recording a visible phase, but results depend on reaction delay, event duration and exposure.
R5 MARK II VS RAW BURST ON THE R7, R6 MARK II AND R8
On the EOS R7, R6 Mark II and R8, RAW Burst records the sequence in a CR3 roll file. Canon provides in-camera extraction, and Digital Photo Professional can also process the roll, so DPP is not the only route. The main constraint is the extraction step and compatibility with the software being used.
The R5 Mark II writes pre-captured frames directly as individual files. Reading them still depends on the software version and its support for the camera and CR3 format; check the editor's compatibility list rather than assuming every application can open them.
FREQUENTLY ASKED QUESTIONS
Does pre-capture work with the mechanical shutter?
No. It requires the electronic shutter and a compatible continuous drive mode.
Does it work with full-resolution 14-bit RAW?
Yes. It can record full-resolution 14-bit RAW files. The feature itself does not reduce resolution or bit depth, but the electronic shutter retains its normal constraints, including under some flickering light sources.
Can it be assigned to a custom button?
Yes. It can be assigned to several controls under Control customization > Customize buttons for shooting. Availability depends on the selected control and the assignment is for still photography.
Does pre-capture guarantee autofocus?
No. Servo AF and subject detection remain available, but Canon warns that sudden distance changes can cause out-of-focus frames and that the rate varies with AF, lens and conditions.
How can I estimate storage?
Canon gives examples of about 47.6 MB per RAW and 20.6 MB per C-RAW file. Fifteen frames therefore represent approximately 714 MB in RAW or 309 MB in C-RAW before the post-release frames. Multiply by your likely number of sequences and keep a margin.
How long can half-press be held?
The manual does not publish a fixed duration. In practice, operation depends on battery charge, space available when saving, temperature and camera settings.

CONCLUSION: A USEFUL TOOL WITH CLEAR LIMITS
Canon EOS R5 Mark II pre-capture can increase the chance of retaining the start of unpredictable action. Its strengths are individual files, full-resolution RAW and a selectable frame count. The trade-offs are more files, greater power use during extended half-press and the normal limits of the electronic shutter, AF and buffer.
The right setting is not always 30 fps: choose the time window first, then the movement sampling and culling volume you actually need.
Explore the Canon EOS R5 Mark II on MCZ Direct:view the full product page, specifications and availability.
Sources and editorial verification
Sources reviewed and checks completed before publication.
Fact-checked on 24 July 2026 against manufacturer manuals. Recommended settings are starting points to adapt to the subject and conditions.
- Canon EOS R5 Mark II — Pre-continuous shooting
- Canon EOS R5 Mark II — Continuous shooting speed
- Canon EOS R5 Mark II — Compatible cards
- Canon EOS R5 Mark II — Specifications and maximum burst
- Canon EOS R5 Mark II — Action Priority
- Sony A9 III — Pre-Capture
- Sony A1 II — Pre-Capture
- Nikon Z8 — High-Speed Frame Capture+ and Pre-Release Capture
- Canon EOS R6 Mark II — RAW Burst extraction
- Bryan Carnathan — Cited field examples
Leave a comment