Shopping Cart
How to easily create a time-lapse?

What if you could capture the magic of a sunrise, the dance of clouds, or the pulse of an entire city in just a few seconds? Time-lapse gives you this power: to reveal the invisible, speed up time, and turn the ordinary into the extraordinary. Whether you’re a curious beginner or an avid photographer, this article will guide you step by step to create stunning sequences. Gear, tips, settings, and pitfalls-discover the fascinating world of time-lapse photography.
Time-lapse is a fascinating technique that reveals the beauty of slow movements that our eyes cannot normally perceive. Whether it's drifting clouds, a sunset, the blooming of a flower, or the bustle of a city, this photographic method transforms time into a captivating visual experience.
If you've always wanted to create your own time-lapse sequences but didn't know where to start, this article is for you. I will guide you step by step through the entire process, from the necessary equipment to the final editing, including optimal settings and mistakes to avoid.
Whether you're a curious beginner or an intermediate photographer looking to perfect your technique, you'll find all the essential information here to easily succeed with your first time-lapses.
What is a time-lapse?
Definition and Principle
Time-lapse (or interval photography) is a technique at the crossroads between photography and video. Its principle is simple: take a series of photos at regular intervals, then assemble them to create an accelerated video. When these images are viewed at standard film speed (usually 24 or 25 frames per second), time seems to speed up, revealing movements imperceptible to the naked eye.
This technique notably allows you to present the passage of a full day in one place, from sunrise to sunset, illustrate road and pedestrian traffic, follow the progress of a construction site over several days, or observe the blooming of a flower.
Why create a time-lapse?
Time-lapse offers a unique perspective on the world around us. It allows us to observe phenomena too slow to be normally perceived, such as the movement of stars, cloud formation, or plant growth. It is both a powerful creative tool and a fascinating way to document the passage of time.
The necessary equipment
To make a quality time-lapse video, several pieces of equipment are essential. Here’s what you’ll need:
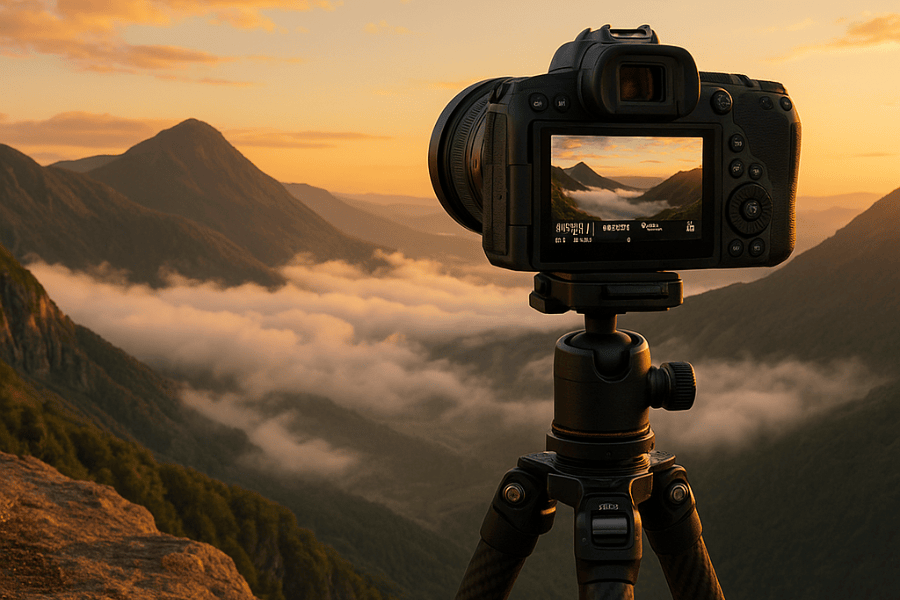
The camera
The central element of your setup is obviously the camera. For a successful time-lapse, preferably choose a camera with manual mode, such as a DSLR or a mirrorless camera with a decent-sized sensor (Micro 4/3, APS-C, or full-frame). These cameras offer better image quality and more control over shooting parameters.
If you don't have a dedicated camera, note that some recent smartphones have apps that allow you to create time-lapses. Although the quality is generally lower than that of a specialized camera, it's a great way to start without additional investment.
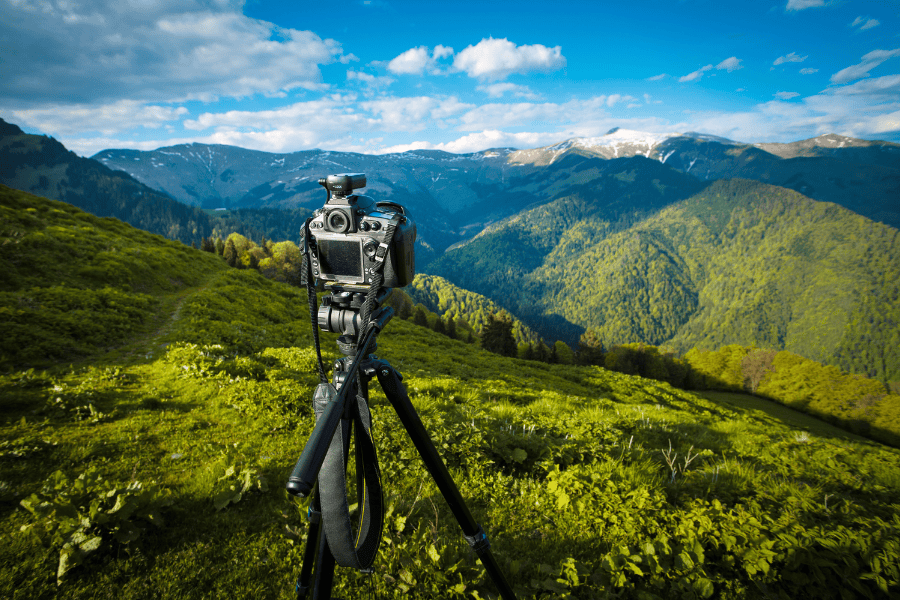
The tripod
The tripod is absolutely essential for creating a time-lapse. Since the technique relies on taking several photos of the same frame at different times, your camera must remain perfectly still throughout the capture. A stable and sturdy tripod will ensure the absence of shakes that could ruin your final sequence.
Make sure your tripod is well weighted, especially if you're shooting outdoors where the wind could move it.
The intervalometer
The intervalometer is a tool that automates taking photos at regular intervals. It comes in several forms:
Built into some mid- and high-end cameras
External, to connect to your camera
As a smartphone app
Via software on a computer connected to your camera
This accessory is crucial as it saves you from having to manually trigger each photo. Imagine taking a photo every 5 seconds for several hours: without an intervalometer, this would be extremely tedious, if not impossible to do accurately.
Additional accessories
To complete your equipment, also plan for:
Extra batteries, as taking hundreds or thousands of photos will quickly drain your battery
High-capacity memory cards, especially if you shoot in RAW
Optionally, ND (Neutral Density) filters to manage brightness and allow slower shutter speeds
Weather protection if shooting outdoors
Preparation and preliminary calculations
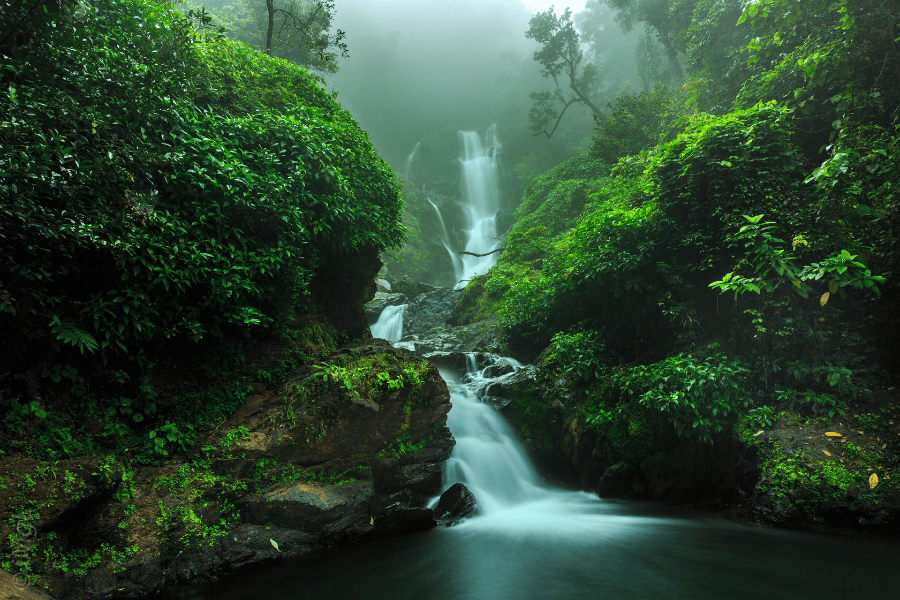
Choosing your subject
Choosing the subject is a crucial step. Some subjects are particularly suited to time-lapse:
Skies (clouds, stars, sunrise/sunset)
Urban landscapes and traffic
Nature (plant growth, flower blooming)
Construction sites
Moving crowds
Each subject involves specific constraints in terms of capture duration and interval between shots.
Interval and duration calculations
A good time-lapse video requires precise planning. To determine the interval between each shot, consider the speed of your subject:
For road or pedestrian traffic: about 1 second
For clouds: 3 to 5 seconds
For sunrises and sunsets: 5 to 10 seconds
For a starry sky: 30 seconds to 1 minute
For a construction site: every hour or every day
To calculate the number of photos needed, know that a smooth video usually requires 25 frames per second. Thus, to create a 10-second video, you will need 250 photos. This simple formula will help you plan:
Number of photos = Desired video length (in seconds) × Number of frames per second (usually 25)
Similarly, to estimate the total duration of your shooting session:
Capture duration = Number of photos × Interval between photos
For example, if you want to make a 20-second sunset time-lapse (i.e., 500 photos at 25 fps) with a 5-second interval between each shot, your session will last 500 × 5 = 2500 seconds, or about 42 minutes.
Camera settings
Manual mode is your best ally
To create a successful time-lapse, manual mode is essential. Unlike automatic modes that continually adjust settings according to lighting conditions, manual mode allows you to maintain constant settings throughout the capture. This avoids unwanted brightness variations between each image, ensuring a smooth and consistent time-lapse.
Exposure, aperture, and ISO sensitivity
To avoid flickering, a common problem in time-lapses, it is crucial to:
Disable auto white balance
Set the aperture manually (avoid automatic settings)
Set ISO to a constant value
Aperture deserves special attention. Two approaches are possible:
Set the aperture to the optimal value for sharpness (often between f/9 and f/11)
Use the maximum aperture (wide open) to eliminate flickering, but with potentially less sharpness
For Canon cameras, a trick is to use the "lens twist method": activate depth-of-field preview and simultaneously slightly twist the lens to partially disengage it from the body.
Manual focus
Autofocus can cause annoying variations between images. Use manual focus and lock it for the entire time-lapse. Make a precise focus before starting and check it with a test shot.
Shutter speed and motion blur
Shutter speed plays a crucial role in the final look of your time-lapse. It determines the amount of motion blur present in your images, which directly affects the perceived smoothness of movement.
For a natural look with pleasant motion blur, it is generally recommended to use a slower shutter speed (1/15s to 1/30s). A good compromise is to set the shutter speed to about half the interval between each shot. For example, for a 4-second interval, a 2-second shutter speed will give balanced motion blur.
Shooting
Setup and framing
Before starting your time-lapse capture, take the time to properly set up your equipment:
Securely mount your camera on the tripod
Carefully choose your framing
Check the stability of the entire setup
Take a test photo that will serve as a visual reference
Don't hesitate to take several test shots to refine your settings before starting the full sequence.
Battery and storage management
For long time-lapses, managing power and storage is essential. If possible, use an external power supply for your camera. If that's not possible, plan enough spare batteries.
Regarding storage space, calculate your needs in advance based on the recording format (JPEG or RAW) and the planned number of photos. RAW format offers more flexibility for post-processing but takes up much more space.
Monitoring and adjustments
For short time-lapses (less than an hour), you can generally let your equipment run without intervention. For longer captures, regularly check:
Battery level
Available space on the memory card
That the framing hasn't changed (due to wind, vibrations, etc.)
No water drops or condensation on the lens
Specific types of time-lapse
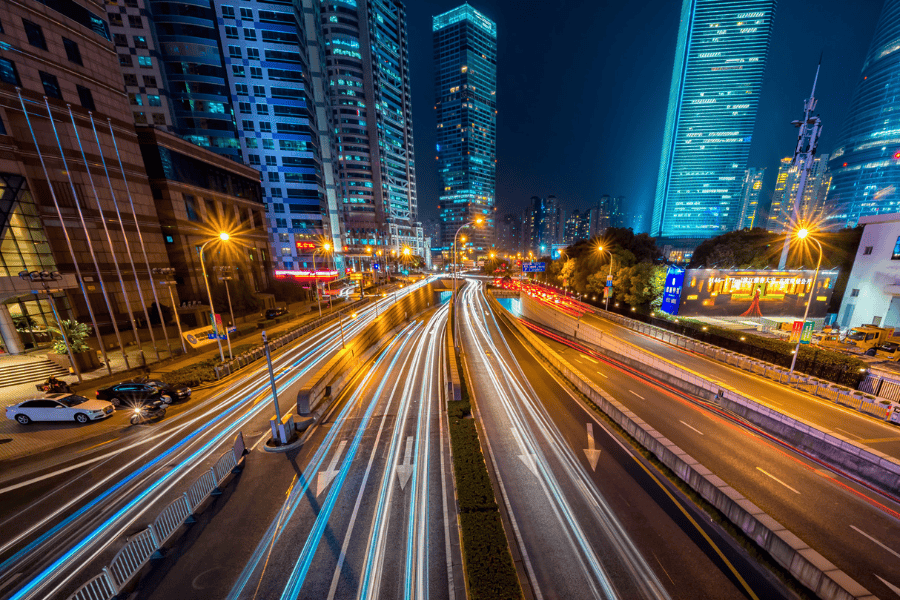
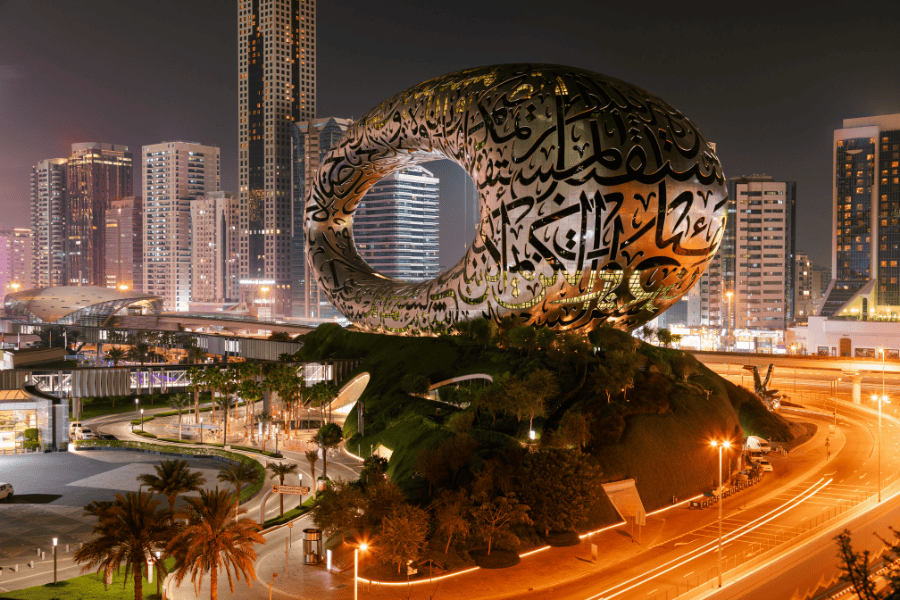
Daytime time-lapse
Daytime time-lapses are among the easiest to make because the light is generally abundant and relatively constant (except for passing clouds). They are perfect for capturing cloud movement, urban activity, or outdoor events.
Specific tips:
Use an ND filter if the light is very strong to allow longer exposure times
Avoid periods when sunlight changes rapidly (unless that's the desired effect)
Pay attention to moving shadows, they can add an interesting dimension to your time-lapse
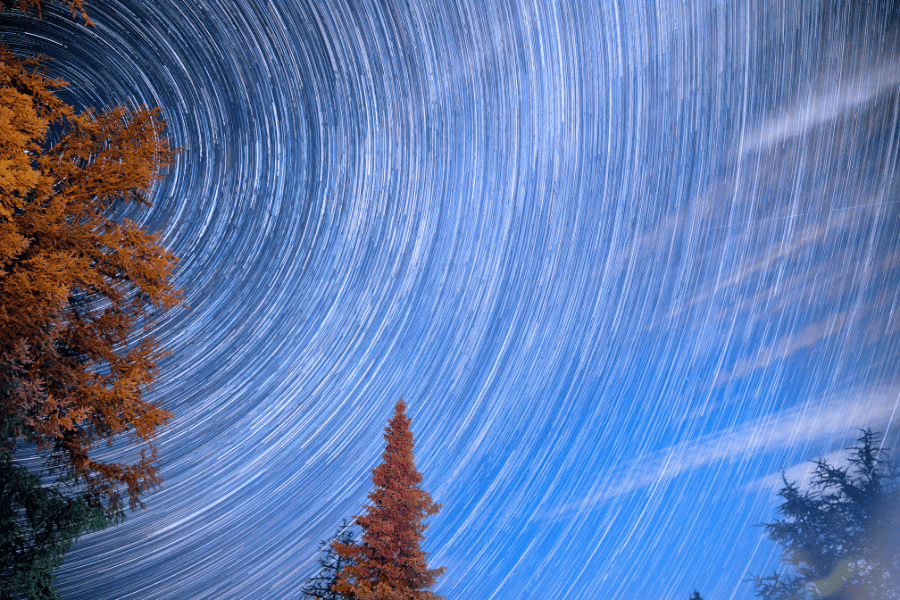
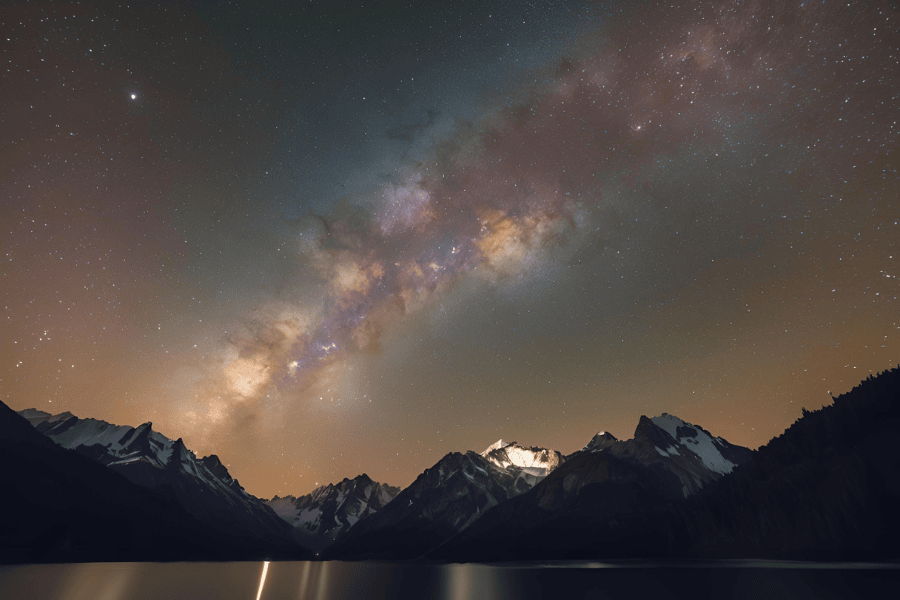
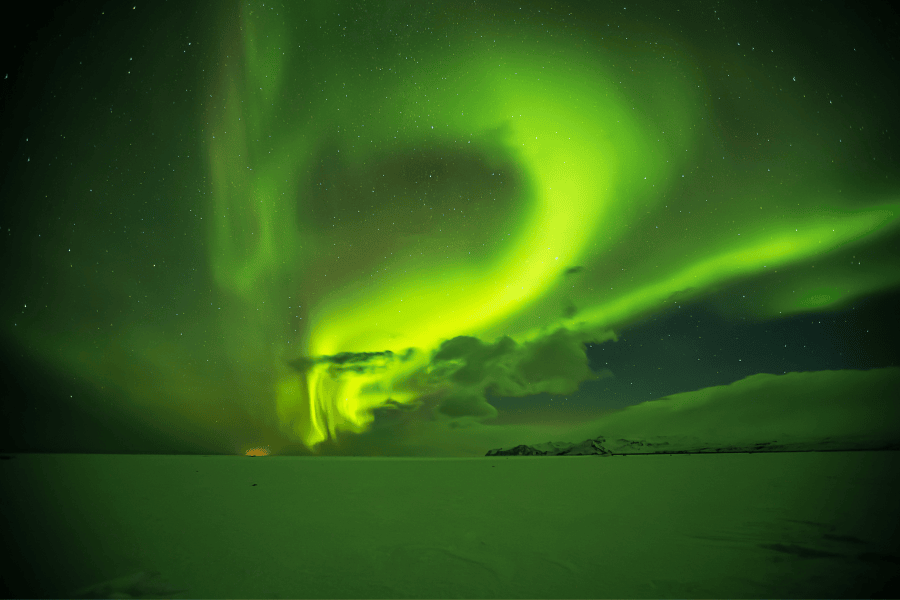
Night time-lapse (stars)
Capturing star movement (also called "star trails" when the trailing effect is desired) requires specific settings:
A longer interval, usually between 30 seconds and 1 minute
A wide aperture to capture as much light as possible
A higher ISO
A wide-angle lens to capture a large portion of the sky
For starry skies, it's best to get away from any light pollution and choose a moonless night for better star visibility.
The "Holy Grail": day-to-night transition
The "Holy Grail" of time-lapse is capturing a complete transition from day to night (or vice versa). This technique is particularly difficult because it involves managing huge variations in brightness.
To succeed with this type of time-lapse, the "exposure ramping" technique is essential. It involves gradually adjusting exposure settings (shutter speed and/or ISO) as the light changes. Some software like LRTimelapse offers specific features to handle this type of transition.
Recommended duration for a sunset or sunrise: about 1h30, i.e., 45 minutes before and after the exact moment of sunset/sunrise.
Editing and post-processing
Editing software
Once your photos are captured, you will need to assemble them to create your time-lapse video. Several software programs can help with this task:
LRTimelapse: Ideal professional solution for complex videos, with advanced features such as the "Holy Grail" assistant for day-to-night transitions and flicker removal
Adobe Lightroom + Photoshop: Powerful combination for editing photos and assembling them
Adobe Premiere Pro: Excellent for sophisticated editing of your sequences
Final Cut Pro: Complete solution for Mac users
iMovie: Simple and accessible option for beginners
Movavi Video Editor: Intuitive interface that simplifies creation
Picasa, Time Lapse Assembler, and Virtual Dub: Free or inexpensive options
For smartphone users, apps like Time-Lapse, Lapse It, Time Lapse Camera HD, and iTimeLapse Pro offer integrated capture and editing solutions.
Flicker correction
Flickering is one of the most common problems in time-lapses. It appears as subtle variations in brightness or color between successive images. Several solutions exist to correct it:
Prevention: The best approach is to avoid the problem during shooting by using constant manual settings
LRTimelapse: Offers a dedicated workflow for flicker correction
GBDeflicker: Plugin for After Effects that analyzes and corrects exposure variations
Flicker Free: Another post-production correction solution
Adding music and effects
A time-lapse takes on its full dimension with an appropriate soundtrack. Choose music that matches the rhythm and mood of your sequence. Many sites offer royalty-free music specially designed for videos.
You can also add transition effects, titles, or even combine several time-lapse sequences to create a more elaborate montage. The video editing software mentioned above offers all these possibilities.
Common problems and their solutions
Flickering
As mentioned earlier, flickering is a major challenge. Its main causes are:
Aperture variations: Modern lenses adjust the aperture electronically with each shot, creating slight variations
Automatic settings: Any parameter in automatic mode can cause variations
Unstable light sources: Some artificial lights can flicker imperceptibly
Preventive solutions:
Disable all automatic settings (ISO, shutter speed, aperture, focus)
Use a lens with manual aperture or the "lens twist" technique for Canon
Shoot with the lens's maximum aperture
Avoid unstable light sources or use a polarizing filter
Unwanted movements
Despite using a tripod, unwanted movements can occur, especially during long outdoor sessions.
Solutions:
Use a sturdy and well-weighted tripod
Protect your setup from the wind
Avoid touching the camera during shooting
If possible, use stabilization software in post-production
Light variations
Natural light changes can be a challenge, especially for long time-lapses.
Solutions:
For sequences with constant light, choose times of day when the light changes little
For day-to-night transitions, use the exposure ramping technique and specialized software like LRTimelapse
In post-processing, use luminance curves to smooth transitions
Advanced tips to perfect your time-lapses
Play with intervals
Experiment with different intervals to create varied effects. A shorter interval will capture more detail in fast movements, while a longer interval will create a more dramatic acceleration of slow movements.
Add camera movement
For even more dynamic time-lapses, you can add slow movement to your camera during shooting. Specialized equipment such as motorized sliders or programmable panoramic heads allow you to achieve this type of effect.
Exposure bracketing
For high-contrast scenes, exposure bracketing involves taking several photos at different exposures for each moment of the time-lapse. These images are then merged in HDR before being assembled into a video sequence, allowing you to retain details in both shadows and highlights.
Hyperlapse
Hyperlapse is a variation of time-lapse where the camera moves over large distances between each shot. This technique allows you to create particularly spectacular sequences, like a "journey" through a city. However, it requires a lot of patience and significant stabilization work in post-production.
Conclusion
Creating a time-lapse is a fascinating adventure that combines photographic technique and artistic sense. Although it may seem complex at first, by methodically following the steps described in this article, even a beginner can create impressive sequences.
Remember that the key to a good time-lapse lies in careful preparation, wise choice of equipment and settings, and patience during shooting. Post-processing also plays a crucial role in finalizing your work and giving it the desired professional look.
Don't hesitate to experiment with different subjects, intervals, and techniques. As with any photographic discipline, it is through practice and experimentation that you will develop your own style and improve your skills.
So, equip yourself with your camera, tripod, and intervalometer, and embark on this wonderful adventure that is creating time-lapses. The world around us is full of fascinating movements just waiting to be revealed by your creative eye!
Sources and editorial verification
Sources reviewed and checks completed before publication.
This guide was updated using MCZ DIRECT editorial content, Nikon documentation about interval timer shooting and Adobe documentation about importing image sequences for video editing.
- MCZ DIRECT - original article and editorial update
- Nikon Professional Services - time-lapse shooting guidance, interval, manual exposure, white balance and focus
- Nikon Camera Control Pro 2 - automatic interval timer shooting principle
- Adobe Premiere Pro - importing an image sequence and still-image frame rate
Leave a comment