
Shopping Cart
How to choose a camera lens in 2026

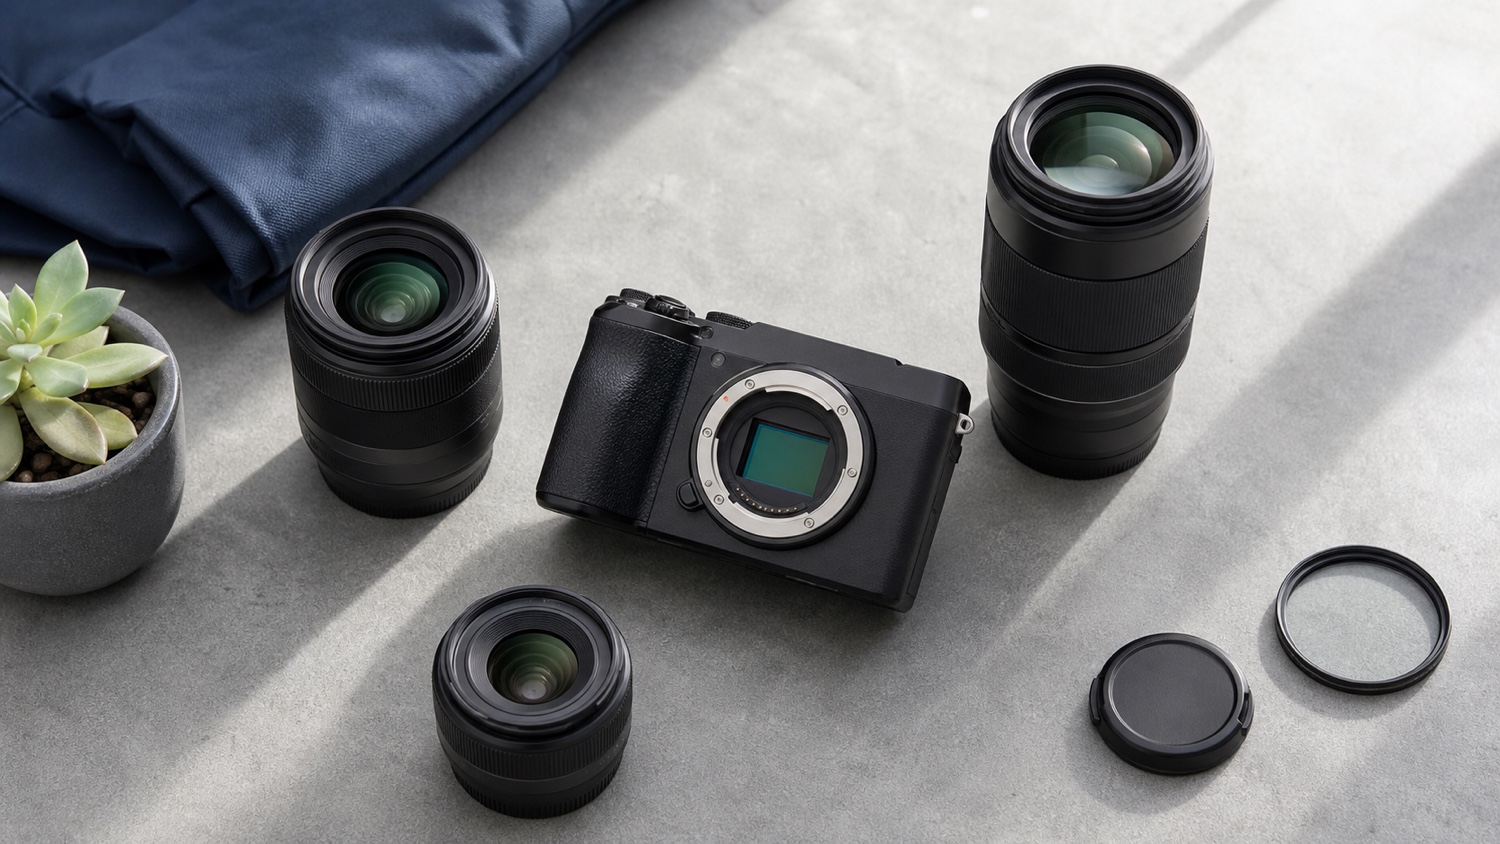
Choose a lens first by compatibility and the pictures it must make possible. Focal length, aperture and lens type come next.
Last fact check: 25 July 2026. This guide draws on official documentation from Canon, Fujifilm, Nikon and Sony. Compatibility and available functions can vary with the camera, lens, adapter, firmware and shooting mode. Always check the exact combination before buying.
Start with two simple checks when choosing a lens: does it fit your camera, and can it frame your subjects from the distance available to you? Next, describe three photographs you genuinely want to make. Those examples will point you towards the right focal length, aperture and lens type. This prevents you from buying a lens that looks impressive on paper but is too heavy, too tight or rarely useful in real life.
Once you have that short list, use the filters in the MCZ DIRECT camera lens category. You will then be comparing only models that already fit your camera and your needs.
How to choose a camera lens: the short answer
| Question | Decision | Essential check |
|---|---|---|
| Which camera do I own? | Identify its mount and sensor format | Official compatibility information |
| Which pictures must it handle? | Describe three real situations | Subject, distance, room, light and movement |
| Which framing is missing? | Choose an angle of view, then a focal length | Sensor format and equivalent focal length |
| How much light and depth of field? | Set the useful maximum aperture | Required shutter speed and subject separation |
| Does framing change quickly? | Choose between a prime and a zoom | Subject movement and freedom to reposition |
| Which functions affect the shoot? | Compare AF, stabilisation, close focus and video | Support on the exact body and mode |
| Will I take it with me? | Validate the complete kit | Weight, size, hood, filters and bag |
Do not reverse this order. A remarkable lens in the wrong mount cannot be used. An impressive focal length that does not suit your working distance will spend its life in a cupboard. Compatibility and use eliminate more unsuitable options than an abstract sharpness comparison.
1. Start with compatibility, not focal length
Write down the exact camera model and identify its lens mount. The brand name is not enough. Canon has used EF, EF-S, EF-M, RF and RF-S systems; Nikon has F and Z mounts; Sony has A and E mounts; Fujifilm has separate X and G systems. Two cameras carrying the same badge do not necessarily accept the same lens.
Next, check the image format covered by the lens. One mount can serve both APS-C and full-frame cameras even though not every lens projects an image large enough for both. Sony E lenses made for APS-C and FE lenses made for full frame share the E mount. A compatible APS-C lens can therefore be attached to a full-frame E-mount body, but the camera will ordinarily use an APS-C image area, depending on the model and settings. The mount confirms that two products fit together; it does not by itself confirm full-sensor coverage.
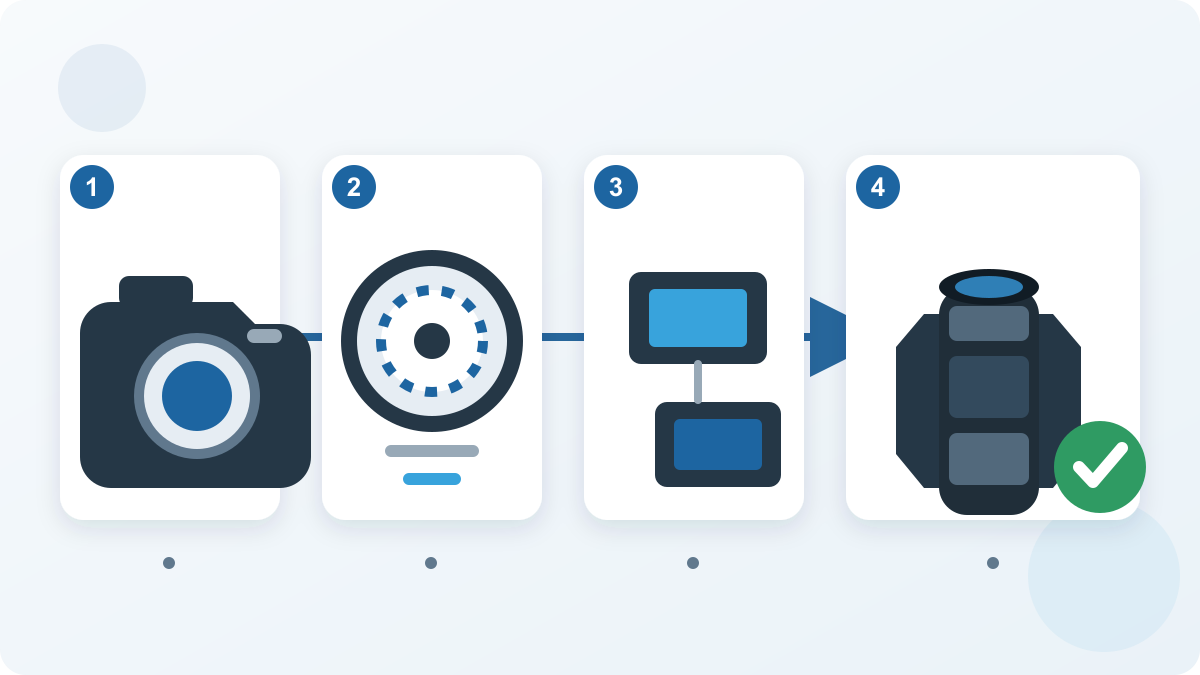
A mount adapter can extend the useful life of an older lens collection, but mechanical fit is only the first question. Canon EF-EOS R adapters are designed to connect EF or EF-S lenses to EOS R cameras. Nikon FTZ and FTZ II adapters make many F-mount lenses usable on Z cameras. Autofocus, metering, stabilisation, lens corrections, burst performance or video functions can still vary with the lens, adapter, body and firmware.
The MCZ DIRECT rule: never approve a combination because the names look similar. Use the official compatibility information for the exact camera and lens. This matters particularly with adapted or vintage lenses, third-party optics and lenses designed for a different sensor format.
Key point: A quick exercise: write down three precise scenes, such as “portrait in my living room”, “child playing in the garden” and “landscape on a hike”. A real scene produces better criteria than a vague label.
2. Define the photographs the lens must make possible
“I need a versatile lens” is not yet a brief. Versatile might mean photographing a child indoors, travelling with one lens, moving from a wide scene to a detail at an event, or filming alone without changing glass. Each of those uses leads to a different compromise.
Describe three situations you encounter in practice. For each one, record:
- the subject and how quickly it moves;
- your normal distance and the room available to step back;
- the framing you want, from an establishing view to a tight detail;
- the light and whether a tripod or added lighting is possible;
- whether the kit must be discreet, light or weather resistant;
- how much stills and video work it will do.
Review ten to twenty recent photographs that did not work as intended. Label the actual limitation: the subject was too small in the frame, there was not enough room, shutter speed was too low, the background was distracting, autofocus struggled, close focus was insufficient or the lens was too heavy. The next lens should solve one or more of those problems. A more prestigious specification is not an upgrade if the original limitation remains.
If you already use a zoom, inspect the focal lengths in your image metadata. A strong concentration around one setting may support a prime-lens shortlist. Photographs spread across the range suggest that zoom flexibility is doing useful work. This describes your past habits, so remember to include any genuinely planned new subject.
Key point: For example, limited space in a small room may require a wider lens. From the edge of a sports field, distance to the subject may instead require a telephoto.
3. Choose the angle of view, then the focal length
Focal length, measured in millimetres, influences how much of the scene appears in the frame. A short focal length gives a wide view; a long focal length gives a narrow view. Begin with the picture: show the surroundings, create a natural-looking field of view or fill the frame with a distant subject.
| Required view | Often useful for | Watch for |
|---|---|---|
| Ultra-wide | Interiors, architecture, landscapes and close-range vlogging | Stretched edges, clutter and awkward filter systems |
| Wide to normal | Travel, street, family, reportage and general views | A small subject when shooting from far away |
| Normal to short telephoto | Portraits, details, events and products | Too little working room indoors |
| Telephoto | Sport, stage work, wildlife and distant details | Weight, subject acquisition, camera shake and close-focus distance |
These are working categories rather than hard boundaries. The recorded angle of view also depends on the sensor. A 50 mm lens remains a 50 mm lens, but it frames more tightly on APS-C than it does on full frame. Use full-frame equivalent focal length to compare angles of view across formats. A 35 mm lens on a roughly 1.5× APS-C body, for example, frames approximately like a 50 mm lens on full frame.
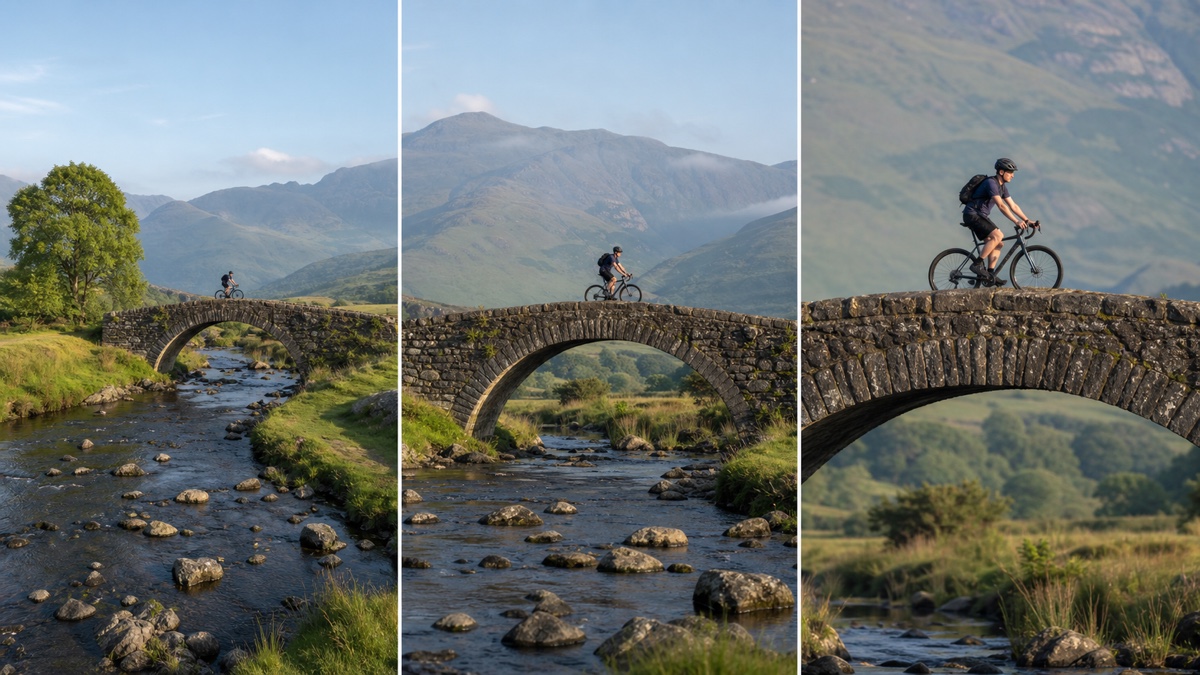
Focal length alone does not create perspective. Perspective is primarily set by camera position relative to the subject. If you step back with a longer lens to keep the same subject framing, the relative distances between foreground and background appear different. A recommendation that ignores available working distance is incomplete.
To turn these principles into a working range, see our guide to choosing focal length for portraits, landscape, travel, sport, wildlife or video.
The widest zoom range is not automatically the most useful one. A large-ratio zoom may be convenient, but size, aperture, close focus and optical behaviour can differ from a more modest zoom. Prefer the range that covers your situations without carrying focal lengths you seldom use.
Key point: Ask the question in context: do you lack light, shutter speed or background blur? If none of those is a problem, an extreme aperture may mainly add weight and cost.
4. How much maximum aperture do you need?
Aperture is expressed as an f-number. A smaller number such as f/1.8 represents a larger maximum aperture than f/4. A large aperture admits more light at the same shutter speed and sensitivity, and can produce shallower depth of field. It can help maintain action-stopping shutter speed, work in limited light or separate a subject from the background.
That option is not always the priority. Landscapes, architecture, groups and product work may require more of the scene to remain in focus. A smaller daytime travel lens may be carried more often than a heavy fast lens. Controlled studio lighting can reduce the value of an extreme aperture. Very shallow depth of field can also make accurate focus more demanding.

Start with the minimum shutter speed imposed by the subject. A player, animal or running child still needs a fast enough shutter: stabilisation cannot freeze the subject. With a static subject, optical or in-body stabilisation may permit a slower handheld exposure, but the result depends on the camera-lens combination and technique.
Some zooms have a variable maximum aperture. A label such as f/3.5–5.6 means that the largest available aperture becomes smaller towards the long end. Check the value at the focal length you need rather than reading only the first number.
Key point: A zoom helps when the subject or your position changes quickly. A prime suits work where one view dominates and you want to travel light.
5. Prime or zoom: choose the useful constraint
A prime lens has one focal length. You change the framing by moving when the scene permits, or accept a different viewpoint. Some primes are small, light or fast, but none of those traits is guaranteed by the word “prime”. A professional super-telephoto prime can be considerably larger than an everyday zoom.
A zoom lens covers a range of focal lengths. It helps when subject distance changes, repositioning is impossible or a lens change would lose the moment. The range does not remove the need to inspect aperture, weight and focusing behaviour. Two zooms with similar focal lengths can still be designed for different jobs.
| Situation | Often sensible direction | Reason |
|---|---|---|
| Predictable subject and distance | Prime or zoom | Aperture, size and handling can decide the result |
| Event with no control over position | Zoom | Framing must change without stopping the shoot |
| Low light and shallow depth of field | Fast prime or fast zoom | The required aperture matters more than the category |
| One-lens travel kit | Compact zoom or a deliberately chosen prime | A choice between framing variety and kit simplicity |
If you are unsure, take your current zoom out for a day and leave it at one focal length. You will quickly discover whether the constraint helps you see more clearly or prevents the pictures you need. This is not an optical-quality test; it tests whether the working method suits you.
6. The features that separate two suitable lenses
Once mount, focal length and aperture are settled, several candidates may remain. Compare the characteristics that change the way you can shoot.
| Feature | Practical effect | Check |
|---|---|---|
| Autofocus | Speed, accuracy, noise and tracking | The intended body, firmware, burst and video mode |
| Optical stabilisation | Reduces some photographer movement | How it works with in-body stabilisation |
| Close focusing | How large a small subject can appear | Maximum reproduction ratio, not distance alone |
| Weight and size | Balance, fatigue and frequency of use | Ready-to-shoot kit with hood and support |
| Environmental sealing | Confidence in dust or light moisture | The claimed level and a suitably protected body |
| Filter diameter | Use of ND, polariser and other accessories | Size, step rings and any filter holder |
| Teleconverter | Narrower view with reduced light | The exact supported-lens list |
| Lens controls | Quick access to AF/MF, lock or a custom function | Functions recognised by the body |
| Video behaviour | Focus breathing, noise and transitions | AF motor, aperture control and body compensation |
Do not let “sharpness” erase every other criterion. A difference visible on a test chart at high magnification may matter less than dependable autofocus, adequate close focus or a lens you can hold for several hours. Judge performance at the apertures and distances you will use rather than only at a laboratory optimum.
Some modern lenses are designed with digital corrections as part of the system. That does not make them inherently poor lenses. Confirm that the camera and software used in your workflow apply the required corrections, especially for unusual RAW processing or video that needs consistent framing.
7. Which lens direction fits your photography?
Replacing a kit lens: identify the limitation first. If light or background separation is the problem at a focal length you use repeatedly, a faster lens can help. If you need more reach or a wider view, change the range. If the kit is simply too bulky, a compact lens may improve your photography more than a technically ambitious one.
Travel and family: favour a lens you are willing to carry all day. A compact zoom handles changing framing; a prime creates a discreet kit when its angle matches the way you see. Check close focus, stabilisation and how easily the lens fits in the bag.
Portraits: begin with working distance and the kind of portrait, from environmental to a tight headshot. Aperture helps separate the subject, but background distance and eye-detection performance also matter. Make sure the room where you work is large enough for the intended focal length.
Landscape and architecture: a wide angle is one option, not the whole subject. Normal and long lenses can isolate shapes and simplify a composition. For architecture, examine edge behaviour, distortion, filter use and, when needed, perspective-control lenses. Weight may be less important when most work is done from a tripod.
Sport and wildlife: angle of view, autofocus, aperture, stabilisation and handling work together. Check the tracking rate supported with your camera, teleconverter compatibility and minimum focus distance. A very long lens that is hard to hold or too narrow to acquire the subject may be less effective than a more moderate range.
Macro and products: look at maximum reproduction ratio. A short minimum focusing distance does not automatically mean 1:1 reproduction. Consider working distance, lighting, depth of field and whether the lens blocks light from the subject. With reflective products, light placement often matters more than an extremely large aperture.
Video: add focus-motor noise, transition smoothness, focus breathing, zoom consistency, aperture controls and gimbal balance. A superb stills lens can involve video compromises. Check which compensation features the exact camera supports.
The six-step MCZ DIRECT method
- Identify the camera. Record its model, mount, sensor format and firmware.
- Remove incompatible options. Keep native lenses intended for the format, then add only adapted lenses with documented functions.
- Describe three scenes. State the subject, distance, available room, light, movement and output.
- Set the angle of view. Find the focal length or range that frames those scenes on your sensor format.
- Set the aperture requirement. Work from shutter speed and desired depth of field, then decide between prime and zoom.
- Validate the complete kit. Compare AF, stabilisation, close focus, video, weight, dimensions, filters and accessories.
Your shortlist should now be small. Use the camera lens filters for mount, format, aperture, stabilisation and use, then inspect the relevant product pages. The category explores the range; this guide explains the decision.
Common lens-buying mistakes
Choosing by brand without checking the mount. One manufacturer can have several incompatible systems or combinations that need an adapter.
Copying a focal-length recommendation from another format. The same number does not give the same view on APS-C, full frame and Micro Four Thirds.
Buying the largest aperture without a defined need. It can add size, weight and focusing difficulty without improving pictures made at smaller apertures.
Confusing minimum focus distance with macro reproduction. The distance tells you where focus is possible; maximum reproduction ratio tells you how large the subject is recorded on the sensor.
Assuming an adapter preserves every function. A lens may attach while AF, stabilisation, burst or video performance remains limited.
Comparing lens weight alone. Add the hood, adapter, tripod collar, filter and support that will be used.
Choosing for one perfect picture. The lens also has to work in ordinary constraints: space, light, carrying time and reaction speed.
Forgetting video needs. Noise, focus breathing and gimbal balance can separate two otherwise similar lenses.
Checklist before you choose
- I know the exact camera model, mount and sensor format.
- I have checked compatibility in official documentation.
- I have described three real scenes instead of one vague use.
- I chose an angle of view before choosing a millimetre value.
- I accounted for the crop factor of my sensor.
- I can explain why I need the proposed maximum aperture.
- I chose prime or zoom from my movement and the subject’s movement.
- I checked AF, stabilisation and reproduction ratio on the exact combination.
- I evaluated the weight and size of the ready-to-shoot kit.
- I checked video, filters and accessory requirements.
- I understand the main compromise I am accepting.
MCZ DIRECT verdict
For a first lens choice, look for the compatible option that handles your most frequent scene with the fewest complications. A sensible zoom works when framing changes quickly; a prime works when its view and aperture meet a stable need. Neither category wins in every situation.
When adding to a kit, name the limitation of the current lens before replacing it. The new lens should add a range, aperture, close-focus ability, autofocus behaviour or portability that changes the pictures you can make.
In every case, decide in this order: camera, mount, format, scene, angle of view, aperture and practical constraints. That sequence is more reliable than a universal ranking and keeps the focus on the lens you will actually use.
Sources and editorial verification
Sources reviewed and checks completed before publication.
MCZ DIRECT editorial analysis checked on 25 July 2026 against official Canon, Fujifilm, Nikon and Sony documentation. No comparative field test or model ranking is claimed. Compatibility and functions depend on the exact combination, firmware and shooting mode.
- Sony — Lens basics
- Sony — APS-C and full-frame E-mount interchangeability
- Sony — Understanding lens names and model numbers
- Nikon — Understanding Focal Length
- Nikon — What Is Aperture?
- Nikon — How to Choose Your Next Mirrorless Lens
- Canon — Beginner lens buying guide
- Canon — EF-EOS R Mount Adapter
- Fujifilm — Lens compatibility
Frequently asked questions about choosing a camera lens
How do I know whether a lens is compatible with my camera?
Record the exact camera model, its mount and sensor format, then use the manufacturer’s compatibility information. Brand alone is not enough. With an adapted lens, also check autofocus, stabilisation, metering, burst performance and the video functions retained by the exact combination.
Which focal length should a beginner choose?
Start with the angle of view needed for your most frequent scenes. A wide-to-normal range often suits travel, family and reportage; a longer view helps with distant subjects or tighter portraits. Account for sensor format and the room available to change camera position.
Can a full-frame lens be used on an APS-C camera?
Yes, when it uses the same mount or an officially supported adapter. The APS-C camera records a central part of the lens image circle, producing a tighter angle of view. Check balance, supported functions and whether that focal length is useful on your format.
Is a prime lens better than a zoom?
A zoom helps when distance and framing change quickly. A prime works well when its angle of view suits a repeated situation and its aperture, size or handling provides a useful advantage. Neither lens type is better for every photographer or subject.
Is an f/1.8 lens always preferable?
No. It admits more light and creates the option of shallow depth of field, but may add weight or make accurate focus more demanding. Landscapes, groups, controlled studio work and daytime travel can be well served by a smaller maximum aperture.
Is optical image stabilisation essential?
Not in every situation. It can reduce some photographer movement when shooting handheld, particularly with a static subject, but it cannot freeze subject motion. Its value depends on focal length, shutter speed, in-body stabilisation and whether a tripod is used.
Can I use an older lens with a mount adapter?
Often, but mechanical fit does not guarantee every function. Autofocus, stabilisation, metering, burst performance or video may be limited. Check the official compatibility list for the exact camera, adapter and lens rather than assuming support for an entire mount.
How can I identify a true macro lens?
Look at maximum reproduction ratio, not minimum focus distance alone. A 1:1 ratio means the subject is projected at life size on the sensor. Also check working distance, autofocus, stabilisation and whether there is enough room to light the subject.
Leave a comment